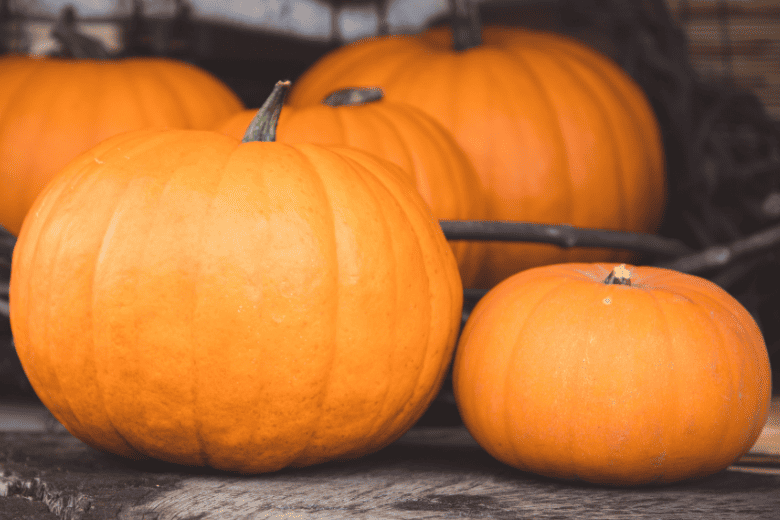
There are many reasons to love pumpkins: you’re a kid, Halloween is your top holiday, fall is your favorite season, orange is a beloved color, pumpkin pie is your top pick for dessert, or you’re crazy for cucurbits (the vegetable family of pumpkins, along with other squashes and cucumbers).
Pumpkins grow rapidly, and it’s not hard for even beginner gardeners to produce large, colorful pumpkins for carving or cooking.
But, there are a few tips and tricks to know if you want to grow pumpkins successfully, especially around watering pumpkins, harvesting and storing.
It also helps to know about the pumpkin growing stages before you select and plant your pumpkin seeds and if you’re a raised bed gardener, growing pumpkins in raised beds and other small spaces.
Tips for Watering Pumpkins
Pumpkins are one of the garden vegetables (fruit, acutally!) that can be either direct seeded or planted by seedling. You’ll want to take extra care with watering pumpkins right after planting either seed or plant.
How to water newly seeded pumpkins
If you’re waiting for seeds to germinate, you need to keep the top of the soil consistently moist until germination.
Pumpkins germinate pretty easily and quickly in warm weather. Give new planted garden beds a quick soak every morning and evening, unless it rains, to help facilitate speedy germination.
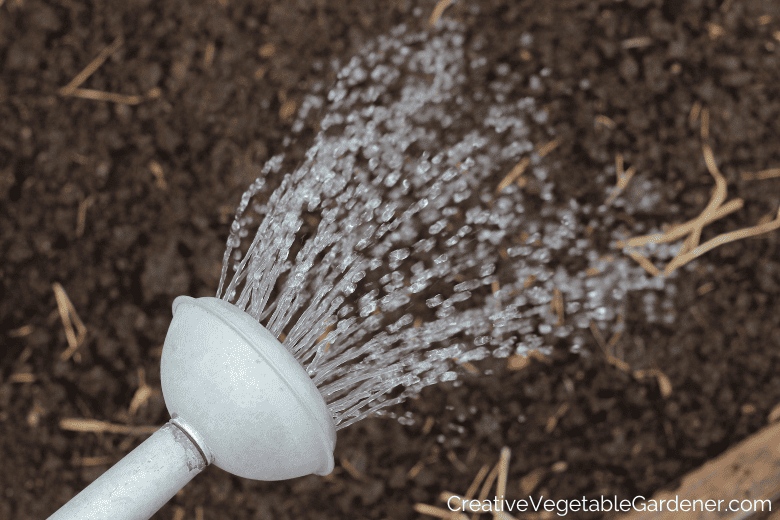
I’ll often use a watering can for this task. I prefer a metal watering can because it lasts much longer than plastic in the garden.
Keep the soil consistently moist until those first leaves break through the soil.
Once seeds germinate you can stop watering twice a day, unless it’s unseasonably hot and dry, in which case they might need some extra water while they establish themselves. See the next section!
How to water newly planted pumpkin plants
When you first plant a pumpkin seedling it will go through a bit of an adjustment period. It’s not going to be as tough or resilient as your more mature plants.
Be mindful of the fact that it hasn’t established its root system yet, so it’s not as able to search for water in the soil.
Give newly planted seedlings a little extra attention the first week or two after they’re placed in your garden beds. Keep the soil moist to encourage them to grow and establish quickly.
And if the weather turns really hot or windy, give them an extra dose of water.
After you see them put on a bit of growth you can transition them onto your once or twice a week watering schedule.
How to water established pumpkin plants
Like most vegetable crops, pumpkins require plenty of water throughout the growing season. So, it’s important to remember that watering pumpkins is a routine chore for the pumpkin grower.
In general, vegetable plants need about one inch of water per week. One inch should be the total amount of water the garden receives – both from rain and your watering.
If you have clay soil like me, and you mulch heavily, you can probably get away with watering about once a week, especially once your plants are established. If it rains one inch during that particular week you won’t need to give the garden any extra water.
If you have sandy soil that doesn’t hold moisture as well, you’ll likely need to water a bit more. You could experiment with watering twice a week and giving the garden half an inch each time. You should definitely be mulching to retain soil moisture.
Because garden soils and regional climates differ, monitor your plants’ health and the soil moisture to decide if what you’re doing is enough. Overall, plants get stressed when the soil is bone dry, so don’t let that happen!

Using a rain gauge for watering pumpkins
I suggest keeping track of how much rain your garden has received each week by installing a simple rain gauge in one of your beds.
Here are some options for simple rain gauges. I like plastic over glass because the glass ones break very easily, and prefer taller gauges that won’t get covered up by the plants around them.
Metal and Glass Rain Gauge with Solar Powered Light
Large Easy to Read Acrylic Rain Gauge
How to water as efficiently as possible
Drip irrigation is the most efficient use of water in your garden. But, due to the cost and time involved it setting it up, most gardeners I know (including yours truly) don’t have drip irrigation in their gardens.
If you live in an area that doesn’t get much rain in the summer, drip irrigation will allow you to leave your garden for weeks at a time and not worry about whether your plants are getting enough moisture.
The Encyclopedia Botanica podcast has a two part series on drip irrigation in the home garden if you want to learn more.
If you don’t have drip irrigation, the next best thing is to make sure you’re watering at the base of the plants.
Don’t set up a sprinkler and then walk away from your garden.
Overhead watering is inefficient because a lot of the water is lost to evaporation. You’ll end up with a high water bill and possibly unhappy vegetable plants.
The leaves of pumpkins, squashes, cucumbers, and tomatoes are best left as dry as possible because they’re susceptible to so many fungal and other diseases.
When watering my garden I use a heavy duty garden hose with a watering wand and hold it at the base of each plant for 30-60 seconds. I usually judge when to stop by how quickly the water is infiltrating the soil.
When it starts pooling up a bit around the plant I move on. Yes, this takes a long time if you have a large garden.
That’s why I pray for one inch of rain every week!
In a good year with consistent moisture I usually water my whole garden by hand only a few times during the summer. And, it’s a good excuse to call a friend and catch up while you’re out there watering.
Resist the temptation to stand in one spot and spray the plants overhead with a hose, especially when watering pumpkins. Most of the water will never reach the plant’s roots because it will evaporate or fall on the leaves

Best times for watering pumpkins
The best time to water your garden is in the morning. It’s often cooler, so less water will evaporate during the process.
And even though you’re watering at the base of the plants, some water will inevitably splash up onto the leaves.
Watering in the morning gives the plants’ leaves the entire day to dry out. This is important because water can encourage some diseases to spread throughout your garden. Pumpkin leaves are very susceptible to fungal diseases as you learned above.
In extremely hot or windy weather, you may also need to water in the late afternoon or early evening. Remember, too, that if you have sandy soil you’ll probably need to water more because these soils dry out faster than clay soils.
The soil in the pumpkin bed needs to be kept moist, but not soggy. Underwatering can reduce the pumpkin’s size, but you don’t want to overwater, either!
For more tips on watering pumpkins and other plants, check out the secrets to watering your vegetable garden!
When to Harvest Pumpkins
Pumpkins are not frost hardy and should be planted when the soil and air are very warm, after your last average frost, around the time when you plant out your tomatoes and other hot weather vegetables.
They germinate easily from seed within a few days, but you can also purchase seedlings at your local farmers market or nursery, particularly if you want to try several different varieties.
Depending on the variety you choose and the weather during the growing season in your area, pumpkins will take 85 to 125 days to mature.
After you’ve been diligently tending your plants all summer, how do you know when it’s time to harvest?
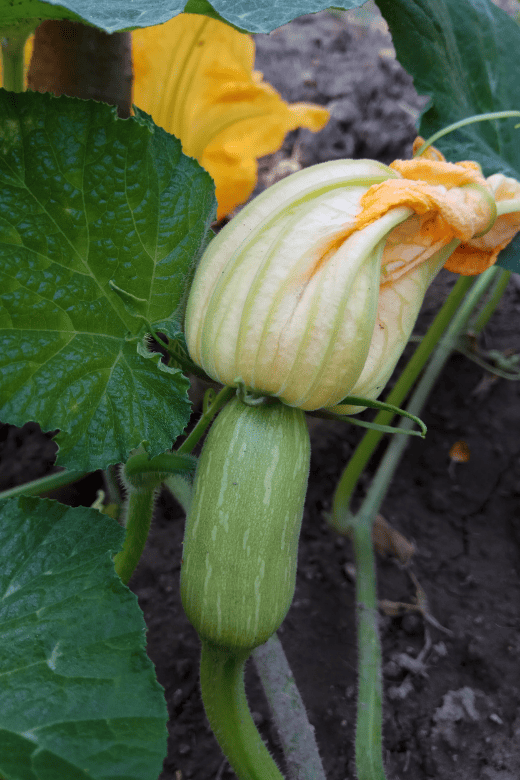
Pumpkin vines grow quickly, and within 8-10 weeks after seed germination you’ll see blossoms start to appear. Then young fruit will start to emerge from the female blossoms.
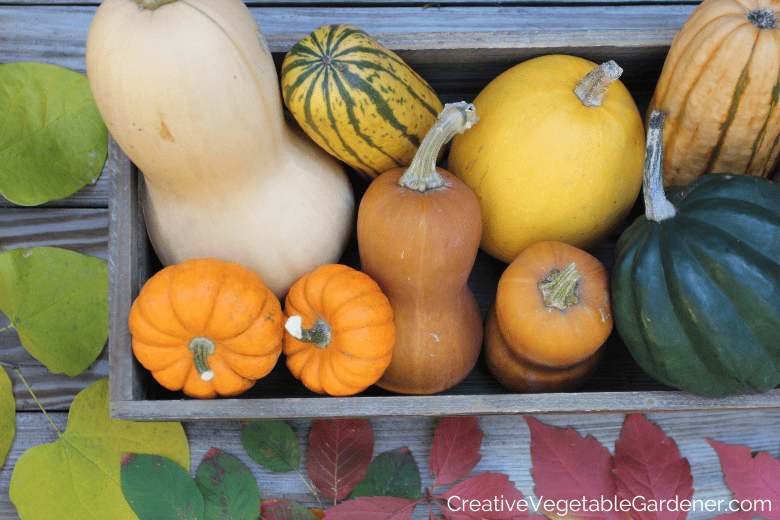
The fruit will be small and very green at first, but as it grows and matures it will change color. Remember that not all mature pumpkins are bright orange. The color may be red, or even blue or white, depending on the cultivar you chose.
As the color deepens, the vines will wither and die. If the pumpkin sounds hollow when you thump it, you know it’s ripe for harvesting. The skin should also be tough enough so that you can’t easily scratch it with your fingernail.
Remember, pumpkins are not frost tolerant, so when fall arrives and you’re inching closer to your average first frost date, you should keep your eye on the nighttime temperatures. If a frost is forecast, you need to harvest your pumpkins, regardless of whether they’re ready or not.
How to Harvest Pumpkins
Ideally, you want to harvest the ripe fruit in a timely manner because the fruit could begin to rot if it’s left on the vine too long.
Don’t rip or tear the pumpkin from the plant with your hands. Instead, cut if off with a sharp knife or garden pruners, and don’t cut too close to the fruit. It will stay fresh longer if you leave about 3-4 inches of stem, and remember to handle this large, heavy fruit very carefully. Bruising it will make it more susceptible to rotting.

How to Store Pumpkins
Like all fresh fruit, pumpkins can rot if they’re not stored properly, so follow a few basic tips.
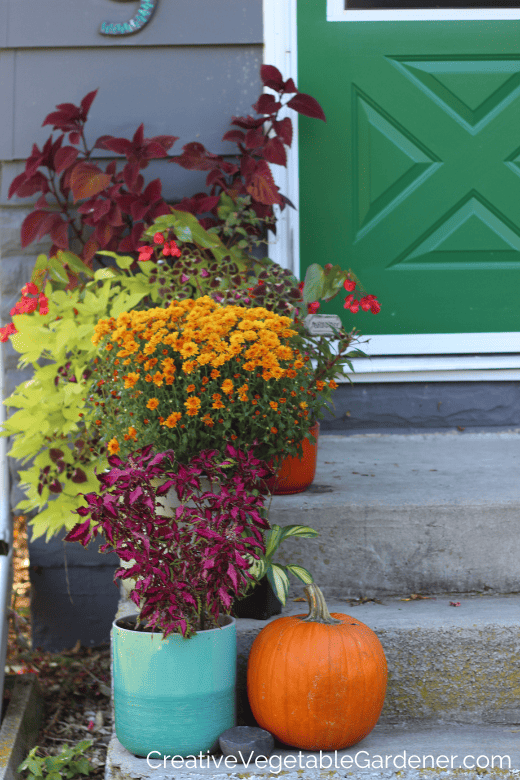
First, if possible, cure the pumpkins for 7-10 days in a warm, sunny spot. Your front porch is an ideal spot because the concrete draws the heat, and this gives you a chance to show off your prized pumpkin! (Although beware of squirrels!) If the weather is too cold for outdoor curing, try to pick the warmest place in your house with good air circulation.
The curing process will improve storage potential by toughening the skin.
If you’re planning to carve your pumpkin, wait until about three days before Halloween so that it won’t spoil before the big night.
You can store pie pumpkins for two to three months in a cellar that’s about 50-55 degrees and dry. So, if you have a cool, dry storage area, you can enjoy savory pumpkin pies made from fresh pumpkin not just on Thanksgiving, but well into the winter season!

What to Do If You Have a Green Pumpkin
Sometimes, no matter how careful we try to be, we end up harvesting a pumpkin that, on close inspection, hasn’t quite reached its peak color. Or, you might have an early cold snap and you’re forced to harvest some green fruit to prevent frost damage.
Don’t worry: all isn’t lost. The pumpkin will continue to ripen off of the vine if you place it in a warm room away from direct sunlight. Let it ripen for a few days, but don’t leave it for too long because the immature fruit can rot more quickly than a pumpkin that’s harvested when it’s fully matured.
If it’s a pie pumpkin, after a few days, try slicing and cooking it as a vegetable. Unripe pumpkin can be a bit bland, so add your favorite seasonings and fry, boil, or grill it as you would zucchini.
You can also cook the pumpkin in soups, chili or other desserts or breakfast dishes.
Unripe pumpkin has a lower sugar content, so it might not be ideal for pie-baking.
If it’s a carving pumpkin, the ripeness doesn’t quite matter as much since you won’t be eating it. We’ve had fun carving green and not fully ripened pumpkins. They make for a unique jack-o-lantern!
If none of these ideas appeal to you, you can always compost the pumpkin, or place it outside in a safe spot away from your house so that wildlife can enjoy it. When we used to have chickens, sometimes I would slice oversized or unripe squashes in half and offer them up as a treat.
Growing your own pumpkins, whether for carving or eating, can be fun and rewarding because they grow so quickly and produce such attractive fruit.
Just remember that, like you, pumpkins get thirsty and need plenty of water in hot weather. Watering pumpkins might sometimes seem like a chore on hot July days, but you’ll be glad that you did when you see those large, colorful, Jack O’ Lanterns on your porch in October or a scrumptious pie on your table on Thanksgiving!
Read my other posts about growing pumpkins to become a pro!
SHARE IT ON PINTEREST


